📝 The TL;DR (Too Long; Didn’t Read)
- Phase 1 (The Blueprint): Advanced 3D imaging maps your exact jaw anatomy to ensure millimeter precision.
- Phase 2 (The Foundation): If required, an implant bone graft is performed to rebuild lost bone density.
- Phase 3 (The Surgery): The titanium post is placed into the jaw (surprisingly fast and virtually painless).
- Phase 4 (The Integration): A 3-to-6-month waiting period where human bone biologically fuses to the metal.
- Phase 5 (The Masterpiece): The delivery and permanent securing of your stunning, custom-crafted porcelain tooth.
📌 Table of Contents
- Eliminating the Unknown: Conquering Dental Anxiety
- Phase 1: Diagnostics and The Master Blueprint
- Phase 2: Site Preparation and Bone Grafting
- Phase 3: The Surgical Placement Day
- Phase 4: Osseointegration (The Magic of Biology)
- Phase 5: Designing and Placing the Final Crown
- Comprehensive Frequently Asked Questions (FAQs)
- Beginning Your Restorative Journey
1. Eliminating the Unknown: Conquering Dental Anxiety
The phrase “dental surgery” is enough to trigger anxiety in almost anyone. When patients hear that a titanium screw will be placed into their jawbone, their imagination often runs wild, picturing a painful, highly invasive ordeal.
However, when it comes to the modern implant procedure, the clinical reality is vastly different from the fear. This is not a rushed, traumatic event; it is a meticulously planned, elegantly executed biological process. In fact, many patients report that the procedure was far more comfortable and streamlined than a standard tooth extraction.
By pulling back the curtain and understanding exactly what happens behind the scenes—the science, the technology, and the healing timelines—you can walk into your implant dental appointments with absolute confidence and peace of mind. This master guide will walk you through every single step of your restorative journey.
2. Phase 1: Diagnostics and The Master Blueprint
You cannot build a structurally sound skyscraper without a flawless architectural blueprint. Similarly, the long-term success of your new smile is entirely dependent on the planning phase.
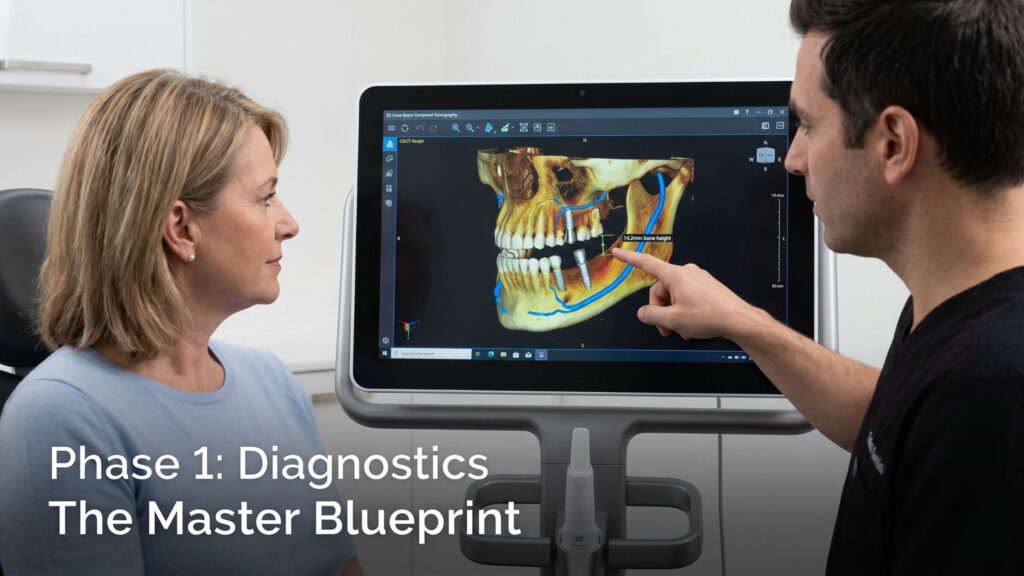
When you first sit down with an “implant dentist near me“, the goal is not to rush to surgery, but to gather data. The cornerstone of this phase is the 3D Cone Beam Computed Tomography (CBCT) scan. Traditional flat, 2D X-rays are completely insufficient for this level of restorative work. A 3D scan allows the clinician to view your skull from every possible angle.
During the planning phase, your dentist will:
- Assess the exact height, width, and density of the jawbone at the precise site of the missing tooth.
- Map the exact location of critical anatomical structures, such as the inferior alveolar nerve in the lower jaw and the sinus cavities in the upper jaw, ensuring zero risk of surgical injury.
- Use advanced software to “virtually” perform the surgery on a computer, choosing the exact length and width of the titanium post before you ever enter the surgical suite.
- Review your comprehensive medical history, as conditions like uncontrolled diabetes, osteoporosis, or heavy tobacco use can severely impact your body’s ability to heal.
3. Phase 2: Site Preparation and Bone Grafting
Not every patient is immediately ready for the titanium post. If a tooth has been missing for several years, or if the tooth was lost due to severe periodontal (gum) disease, the bone in that specific area has likely resorbed (melted away). A titanium post requires a thick, robust housing of bone to withstand the heavy forces of chewing.
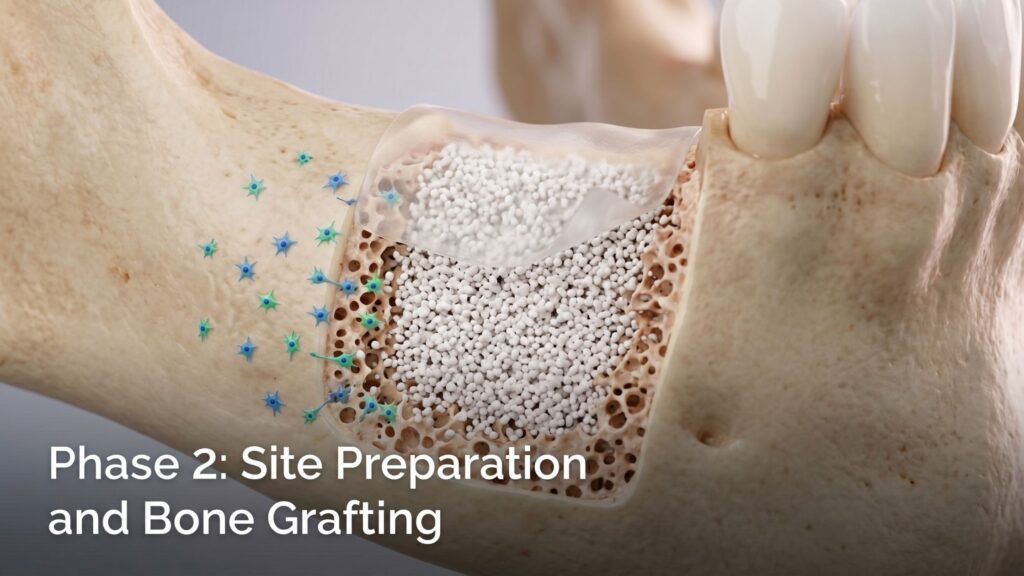
If your 3D scan reveals inadequate bone, you will require an implant bone graft prior to, or sometimes simultaneously with, the post placement.
How a Bone Graft Works:
- The Scaffold: The clinician will place grafting material (which can be synthetic, or derived from highly sterilized bovine or human donor sources) into the depleted area.
- The Barrier: A small collagen membrane is often placed over the graft to prevent faster-growing gum tissue from invading the space where slow-growing bone needs to form.
- The Regeneration: This material does not permanently stay in your jaw. Instead, it acts as a microscopic scaffold. It tricks your body into sending osteoblasts (bone-building cells) to the area. Over several months, your body consumes the graft material and replaces it with your own dense, natural human bone.
Note: If you require a significant graft, it will add 3 to 6 months to your overall treatment timeline to allow the new bone to fully harden.
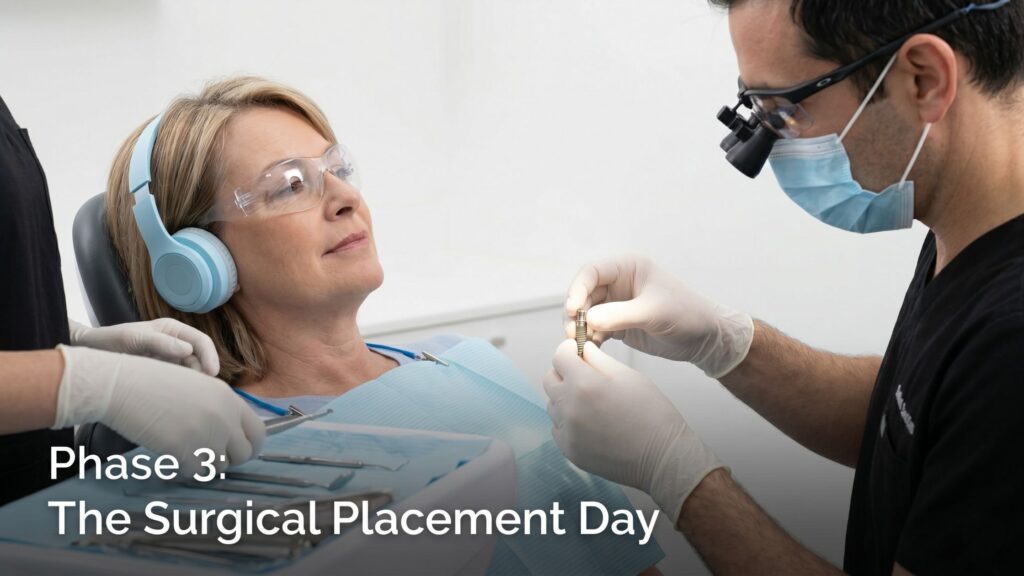
4. Phase 3: The Surgical Placement Day
This is the core of the implant procedure. While it is technically a surgical intervention, the incredible precision afforded by the 3D planning phase makes this an incredibly smooth experience.
The Step-by-Step Surgical Experience:
- Profound Anesthesia: The site is thoroughly numbed using local anesthesia. You will be awake and alert, but you will feel absolutely zero sharp pain. You will only feel slight pressure and vibration. (For anxious patients, IV sedation or oral sedatives are excellent options to ensure total relaxation).
- Accessing the Bone: A tiny, precise incision is made in the gum tissue to expose the healthy jawbone beneath.
- Creating the Channel: Using a series of specialized, highly calibrated, water-cooled instruments, the clinician creates a microscopic channel in the bone that perfectly matches the dimensions of the chosen titanium post.
- Insertion: The sterile titanium root is carefully threaded into the bone, achieving high initial stability.
- Closure: A small healing cap is placed over the post, and the gum tissue is gently sutured closed.
💡 Clinical Pro-Tip: The recovery from the placement surgery is shockingly mild for most patients. Because the bone itself has very few nerve endings compared to a tooth root, the post-operative discomfort is usually completely manageable with standard over-the-counter anti-inflammatory medication (like Ibuprofen). You can typically return to normal activities the very next day.
5. Phase 4: Osseointegration (The Magic of Biology)
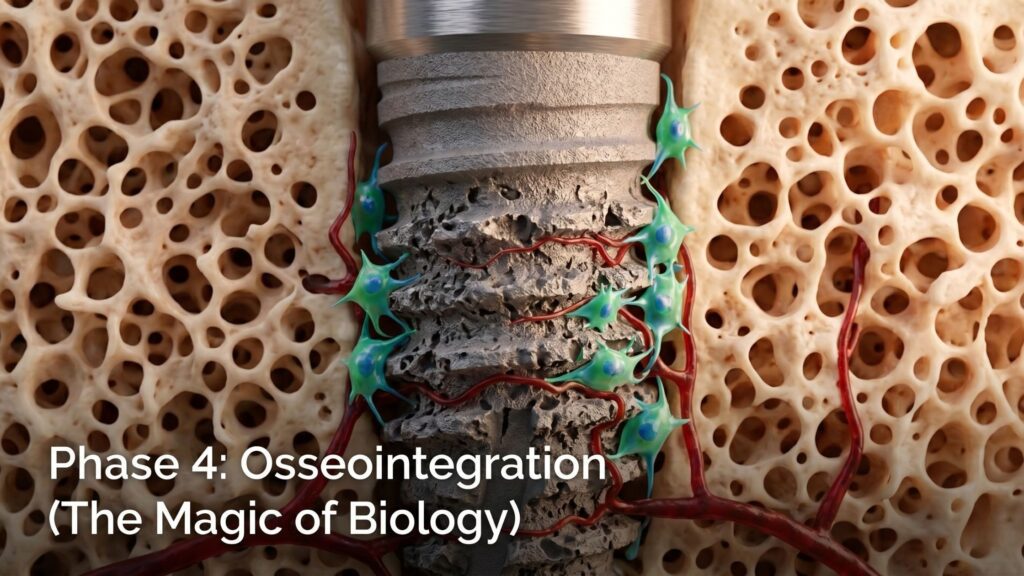
Once the surgery is over, the most critical—and most passive—phase begins. You cannot rush biology. Over the next 3 to 6 months, a miraculous process called osseointegration takes place.
Titanium is uniquely biocompatible. As you heal, living bone cells will grow right up to the surface of the post, locking onto its microscopic threads. The metal and the bone literally fuse together, creating an anchor that is as strong, if not stronger, than a natural tooth root.
During the Healing Phase:
- You will be instructed to maintain a soft-food diet on that side of your mouth to prevent any micromovements that could disrupt the fusing process.
- You must maintain meticulous oral hygiene to prevent bacteria from infiltrating the surgical site.
- If the missing tooth is in the front of your mouth (the aesthetic zone), your dentist will provide a temporary cosmetic flipper or temporary crown so you never have to walk around with a visible gap in your smile.
6. Phase 5: Designing and Placing the Final Crown
Once the clinician verifies through X-rays that the post has fully integrated and is rock-solid, you have reached the finish line. It is time to create your new tooth.
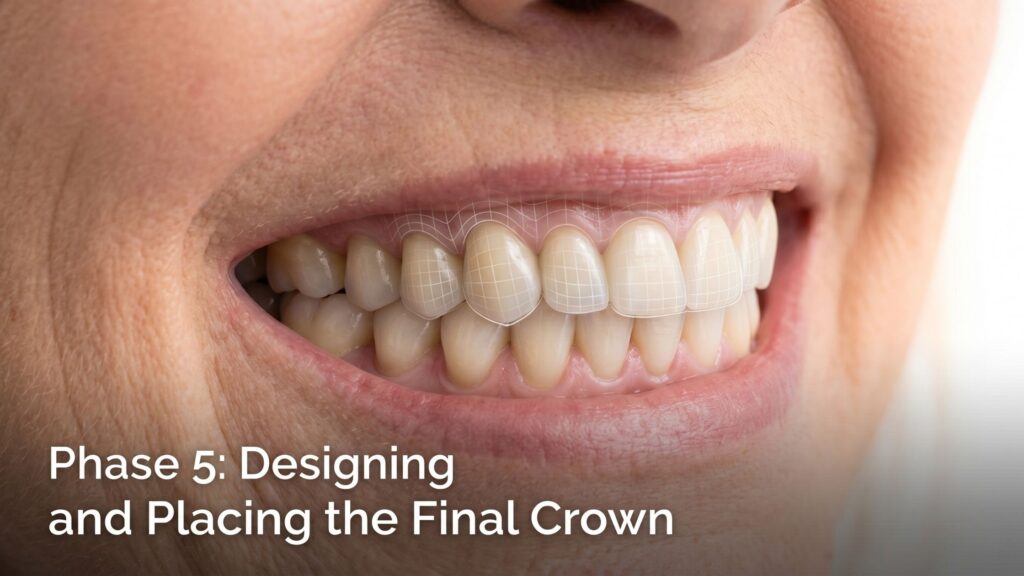
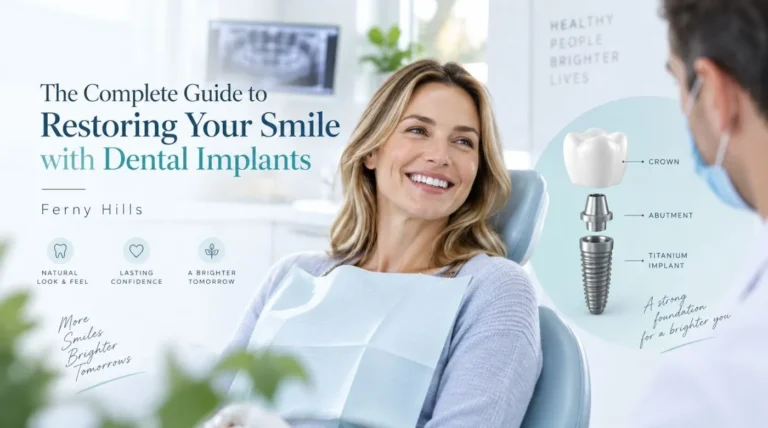
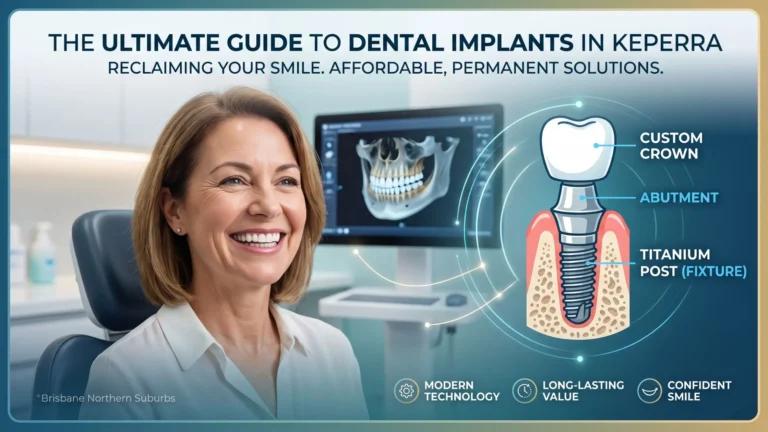
- The Abutment: The healing cap is removed, and a small connector piece called an abutment is securely screwed into the hollow center of the titanium post. This piece sits just above the gumline.
- Digital Impressions: Gone are the days of choking on gooey impression putty. Premium clinics now use intraoral optical scanners. A wand takes thousands of pictures of your mouth, creating a perfect 3D digital model of your bite and the abutment.
- The Master Craftsmanship: This digital file is sent to a dental laboratory. A master ceramist uses it to mill and hand-glaze your final implant crown. They will perfectly match the translucent gradients of your surrounding teeth.
- The Final Delivery: You return to the clinic, and the final porcelain crown is permanently cemented or screwed onto the abutment. Your bite is checked for perfect alignment. You leave the clinic with a fully restored, permanent, beautiful smile.
7. Comprehensive Frequently Asked Questions (FAQs)
Am I too old to undergo this surgical procedure? Absolutely not. There is no upper age limit for restorative dentistry. The primary requirements are adequate bone density (which can be grafted) and a relatively healthy immune system. We routinely restore the smiles of patients in their 70s, 80s, and even 90s, dramatically improving their ability to eat nutritious foods and enjoy their golden years.
What happens if I am a heavy smoker? Smoking is the single biggest threat to the implant procedure. Nicotine severely constricts the blood vessels in your gums, choking off the vital oxygen and nutrients your jawbone needs to heal and fuse to the titanium. Smoking dramatically increases the risk of complete failure. You will be strongly advised to cease smoking several weeks before surgery and throughout the entire integration phase.
How do I care for my new permanent tooth? One of the greatest benefits of this treatment is the ease of maintenance. You treat it exactly like a natural tooth. You must brush twice a day, floss daily (to prevent bacteria from attacking the gums around the titanium post), and never skip your routine 6-month professional cleanings and examinations. While the porcelain crown cannot get a cavity, the gums around it can still become infected if neglected.
8. Beginning Your Restorative Journey
The roadmap to a new smile requires patience, but the destination is life-changing. By understanding the profound science, planning, and artistry involved in each phase—from the high-tech diagnostics to the delivery of custom ceramics—you can approach your treatment with excitement rather than fear.
You are not just filling a space in your mouth; you are reversing the damage of tooth loss and investing in a permanent foundation for a healthier, more confident life. If you are ready to take the first step, contact your clinical team today to schedule your diagnostic 3D scan and begin blueprinting your perfect smile.